For the past few years my 3D printer was an Anycubic Vyper. PLA prototypes, weekend projects, the occasional drone part. It was a great way to get into 3D printing — slicer settings, bed adhesion, why the first layer matters more than the rest of the print.
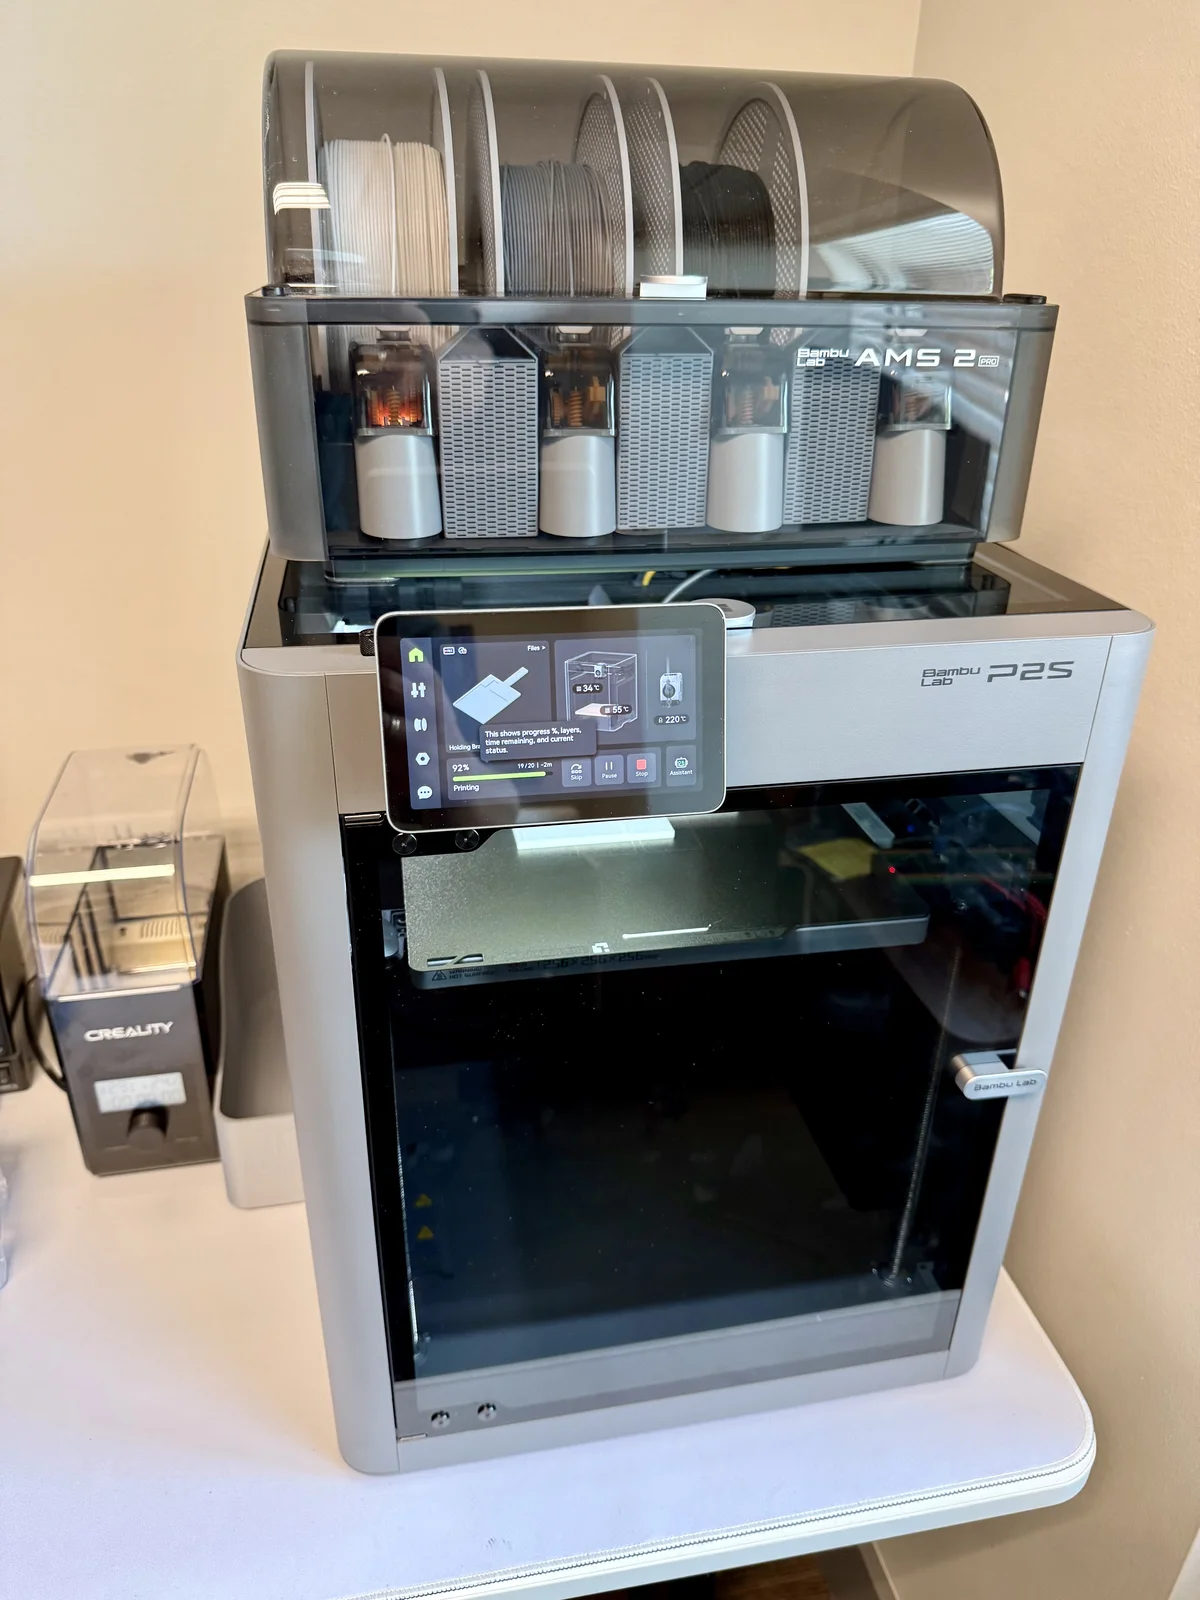
Starting the company changed what I needed. Iteration loops in hours, not days. Materials the Vyper wasn’t built for — ASA, PA-CF, etc. A Bambu Lab P2S with AMS 2 has been running non-stop in the lab since it arrived.
Every hardware company I’ve worked with had a few printers running in the background. Custom mounts for bare PCBs when the enclosure doesn’t exist yet. Jigs, brackets, drone parts. For drone work specifically, 3D printing isn’t optional — it’s how you iterate.
Modern printers also shifted what “printing” means. Fast, smooth, the parameter-fiddling has shrunk drastically. Only a few advanced materials still demand a real tuning session.
Why Bambu
For the next printer I wanted something simpler and more reliable. Prusa vs. Bambu was the real decision. Prusa is more upgrade-friendly and has more respect in the community. Bambu won on:
- The bundle — printer + AMS + enclosure + monitoring camera at a great price
- The ecosystem — high-quality printable tools and accessories you can just grab
- Out-of-the-box reliability — closer to “press print” than “tune and pray”
The AMS turned out to be a bigger upgrade than I expected. RFID-tagged spools, automatic material tracking, multi-material prints without thinking about loadout.
What I’ve actually printed
The first prints that mattered:
- Custom mount plate for AI inference module and all cameras
- Custom board mounts for the proof-of-concept drone
- Custom lightweight battery compartment with brackets to mount the other proof-of-concept drone parts
Every one of these would have been a week-long project on the Vyper + CAD. With modern tooling and the latest printer, it takes less than a day of work.
Materials
- PLA for prototypes — cheap, fast, dimensionally good enough to validate fit
- ASA for parts that see heat or UV — outdoor mounts, anything on the airframe
- PA-CF for structural mounts and internal parts that have to survive being thrown in a backpack
What this replaces
The old workflow on the Vyper: design part, print it, watch a multi-hour run fail at the wrong layer, retry. One iteration every couple of days at best — and PLA only. Anything more advanced wasn’t really on the table.
New workflow: design part, print part, hold part, revise. Two to four iterations a day on small geometry. Once the PLA prototype is confirmed, I print the part from a proper material with minor adjustments for material differences.
For a bootstrapped hardware company, a reliable 3D printer is not a nice-to-have. It’s infrastructure.